 ( 101 ) 20-May-2014
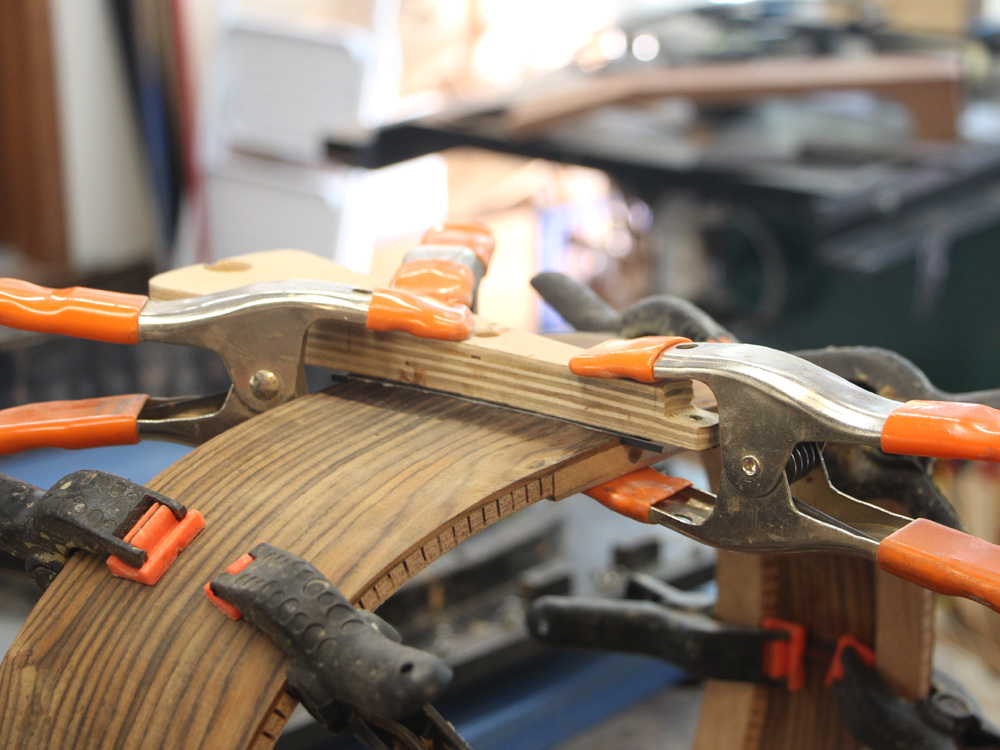
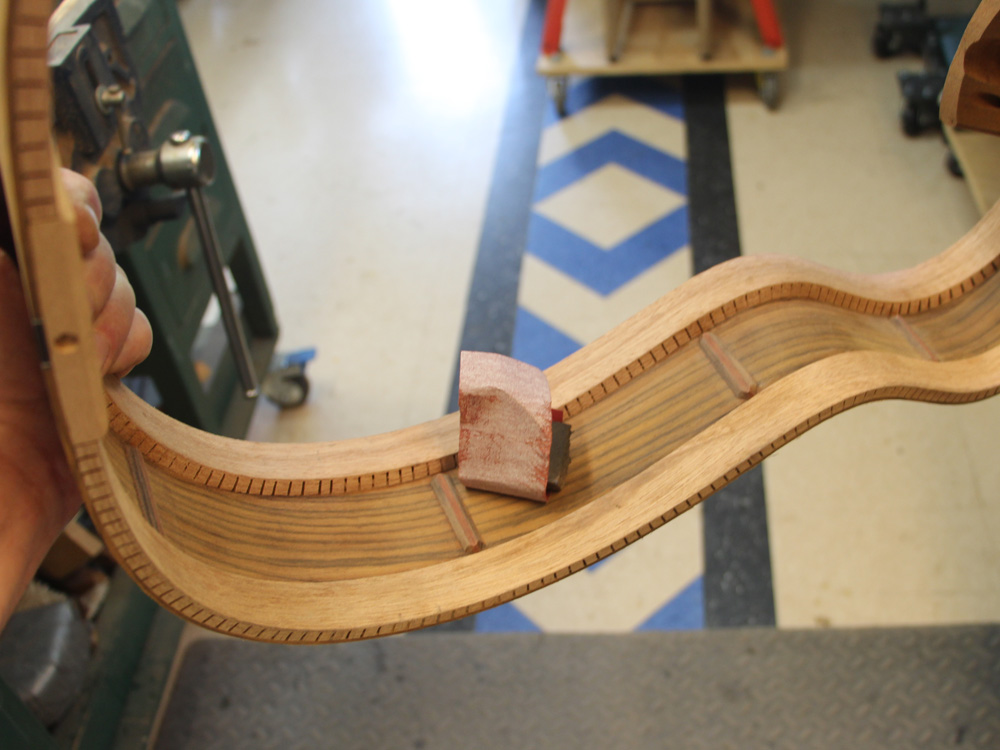
Here I am setting up to glue the tail graft in place.
( 101 ) 20-May-2014
Here I am setting up to glue the tail graft in place.
 ( 102 ) 20-May-2014
 ( 103 ) 20-May-2014
A caul and clamps press it home.
 ( 104 ) 20-May-2014
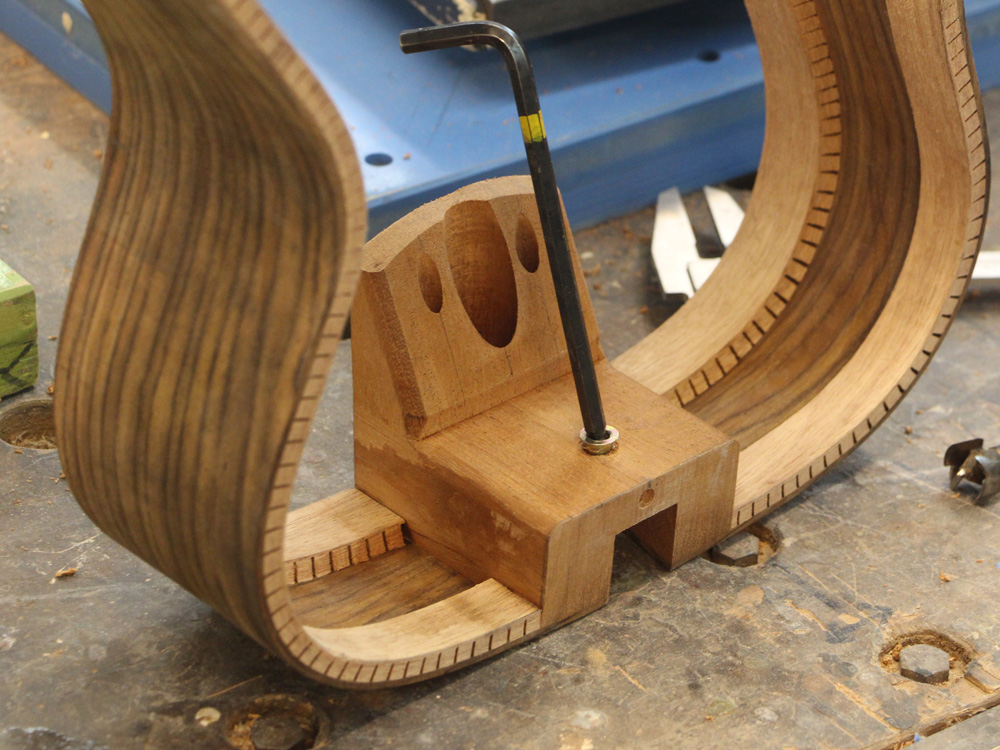
I use a template to mark the position o the attachment / adjustment hardware in the heel channel.
 ( 105 ) 20-May-2014
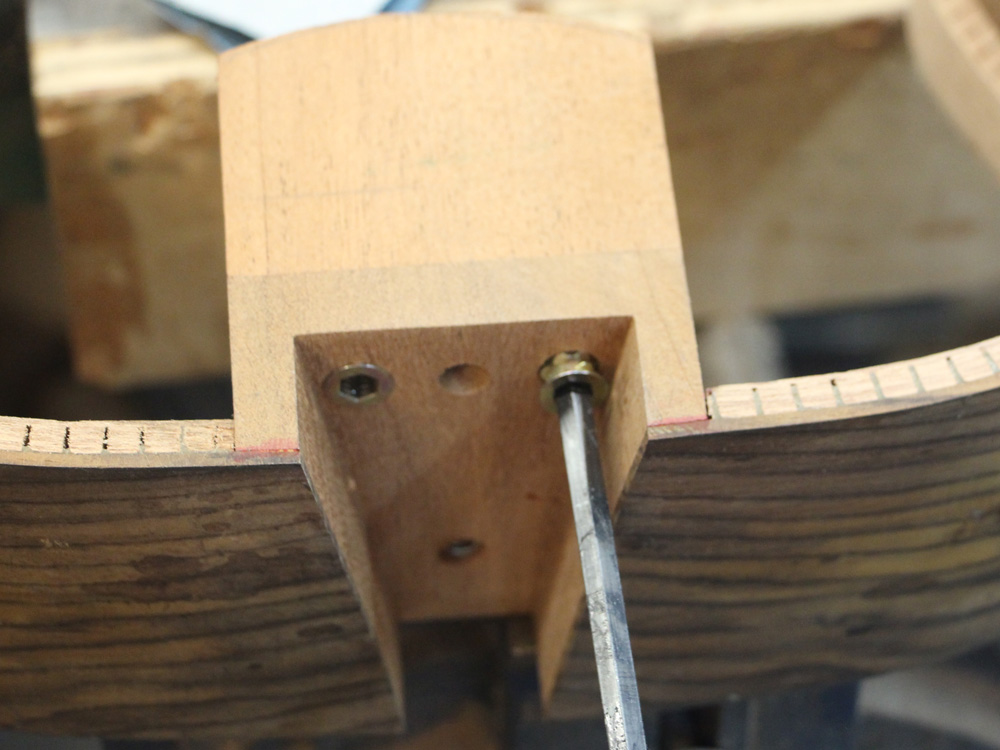
Drilling the holes.
 ( 106 ) 20-May-2014
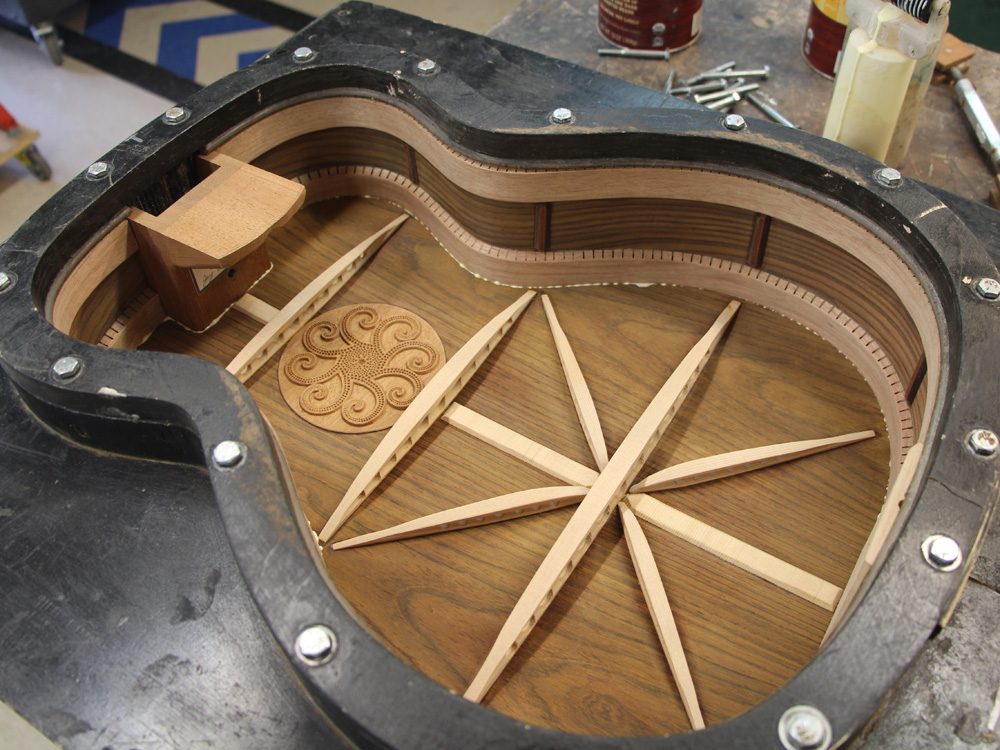
The adjustment insert is positioned at the back of the heel block so the tension pulls it into the wood rather than pulling it out.
 ( 107 ) 20-May-2014
The pivot set screw inserts go in the front of the heel block.
 ( 108 ) 20-May-2014
 ( 109 ) 20-May-2014
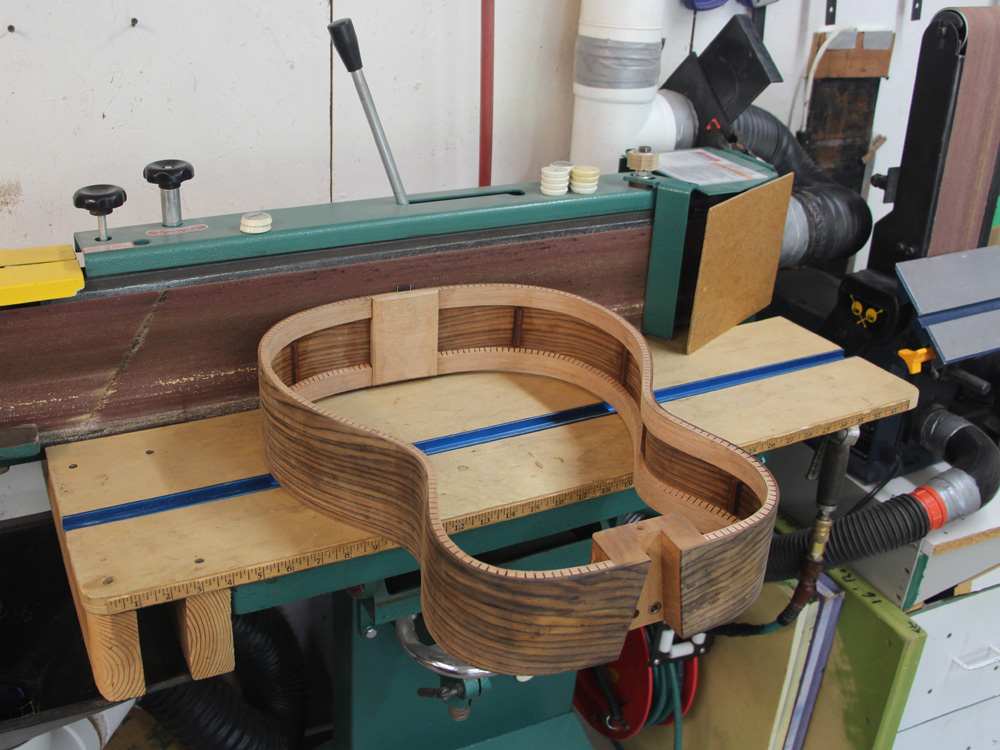
I use rim braces to help prevent the sides from cracking should the guitar be dropped. No one ever abuses their instrument do they?
 ( 110 ) 20-May-2014
 ( 111 ) 20-May-2014
The belt sander cleans up the rim surface.
 ( 112 ) 20-May-2014
 ( 113 ) 20-May-2014
And a bit of hand sanding takes care of the interior.
 ( 114 ) 20-May-2014
 ( 115 ) 20-May-2014
Before gluing the back to the rim I deplete the surface of the Cocobolo of its natural oils with a bit of acetone.
 ( 116 ) 20-May-2014
The flange presses the back onto the rim.
 ( 117 ) 20-May-2014
 ( 118 ) 20-May-2014
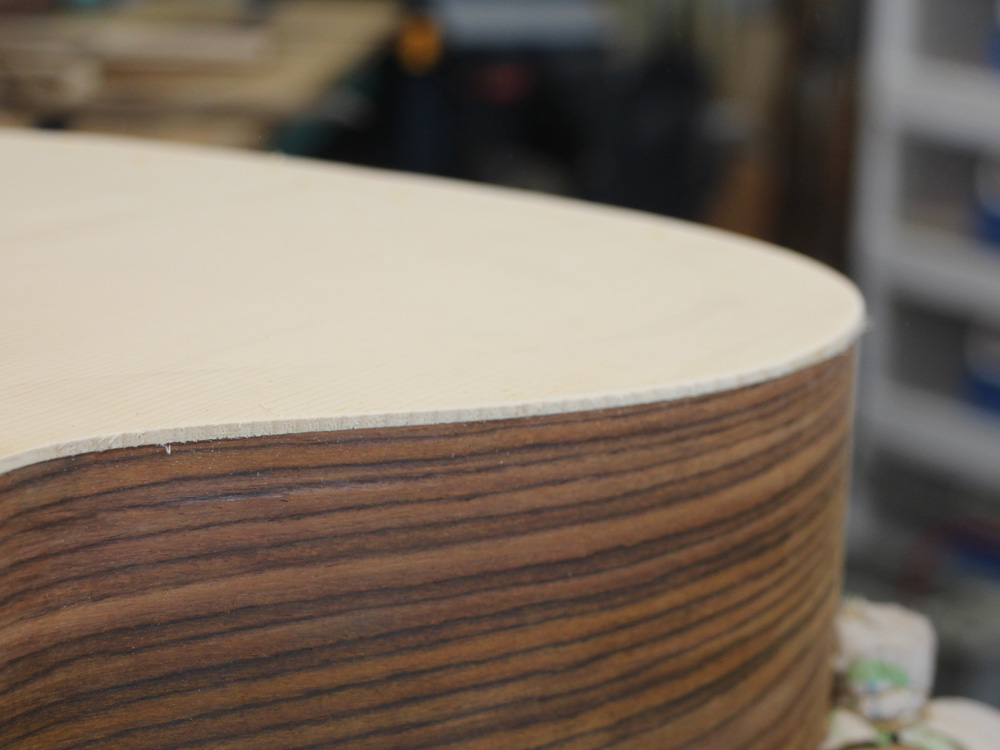
A little bit of squeeze out is just right.
 ( 119 ) 20-May-2014
I clean up the excess glue before it sets.
 ( 120 ) 20-May-2014
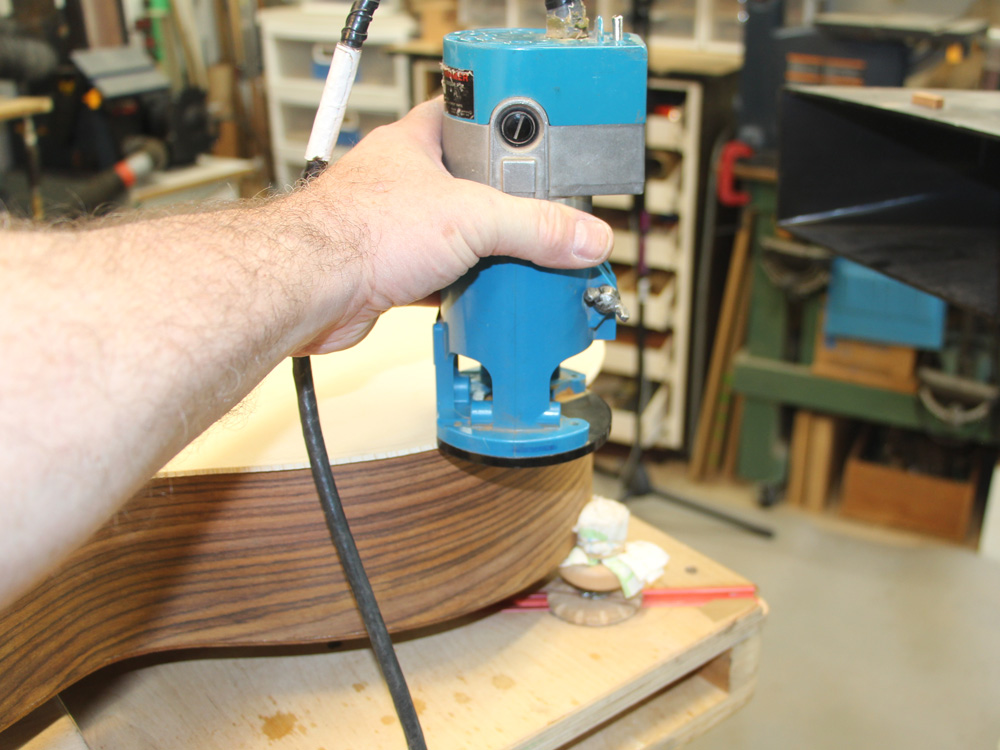
After the glue sets I use a router to trim away the overhang.
 ( 121 ) 20-May-2014
Before gluing on the top I carefully go over it and clean up anything out of place.
 ( 122 ) 20-May-2014
A bit of glue goes on the edge of the rim.
 ( 123 ) 20-May-2014
And the form and flange presses the top into place.
 ( 124 ) 20-May-2014
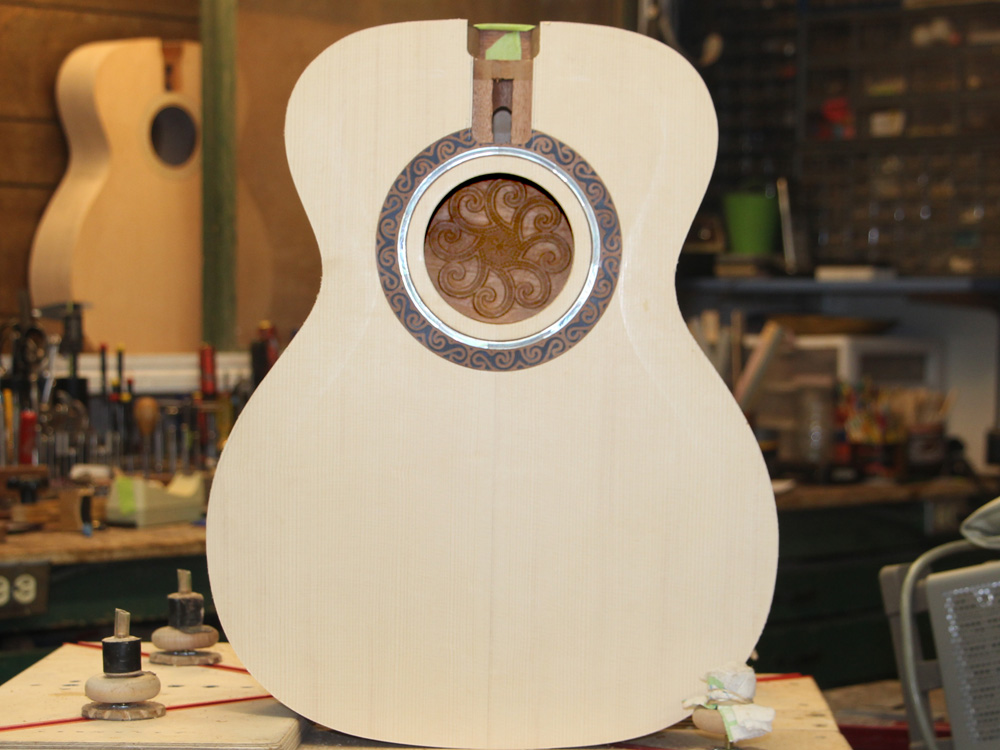
After setting up over night.
 ( 125 ) 20-May-2014
I use the router to trim off the over hang.
 ( 126 ) 20-May-2014
 ( 127 ) 20-May-2014
The heel channel gets a bit of special attention. I set the router bit for maximum depth.
 ( 128 ) 20-May-2014
And then I use the angle of the channel to create a bit of over hang in the channel.
 ( 129 ) 20-May-2014
These wings will hide the intersection of the body and the neck.
 ( 130 ) 20-May-2014
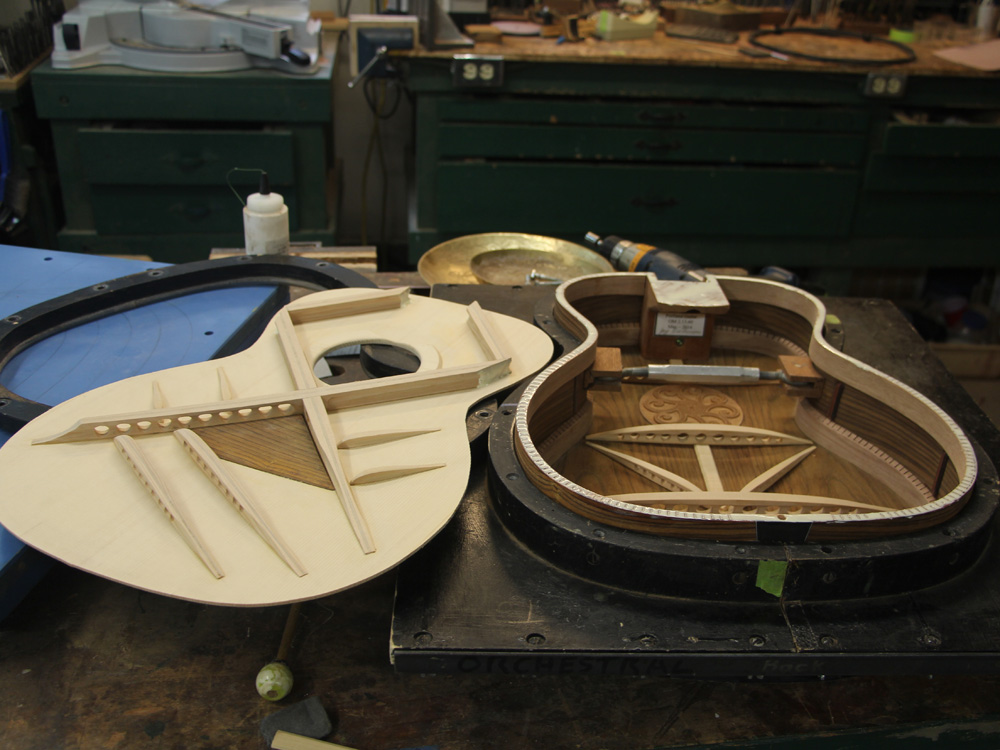
This template will guide the router in cutting out the channel for the cantilever fretboard reenforcing support plate.
 ( 131 ) 20-May-2014
Holding the template firmly in place required a bit of thought.
 ( 132 ) 20-May-2014
 ( 133 ) 20-May-2014
 ( 134 ) 20-May-2014
This channel makes room for a support plate under the cantilevered portion of the fretboard. Because the angle of the neck relative to the body can be adjusted by the customer, the fretboard floats over the top of the guitar.
 ( 135 ) 20-May-2014
Next up, the neck and binding.